English
 中文简体
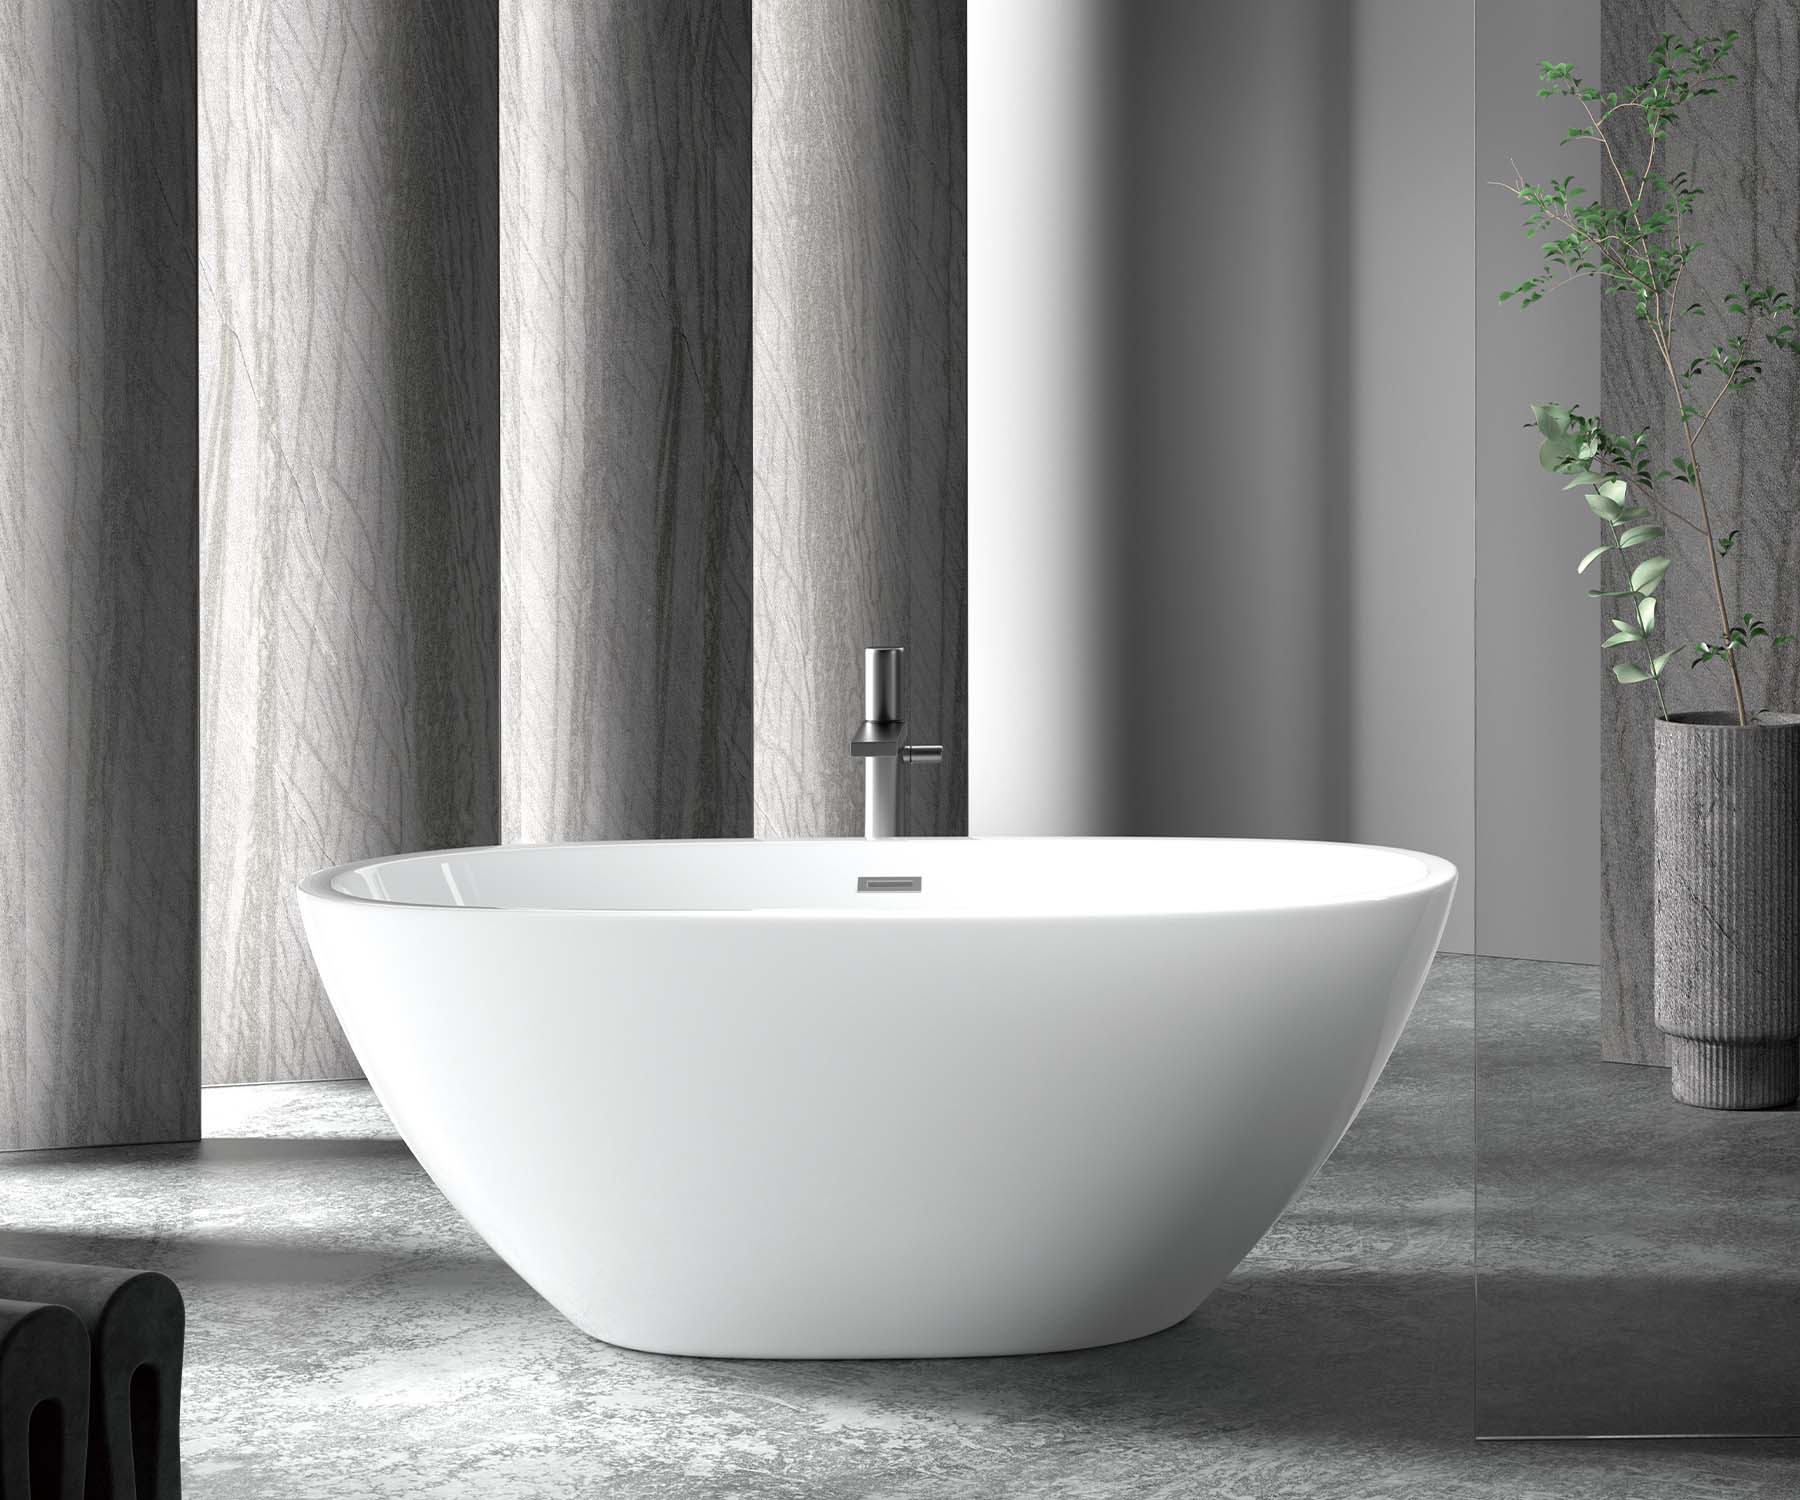
中文简体How to Repair the Scratches of Freestanding Home Acrylic Bathtubs?
Date:2023-03-09
Repairing scratches on acrylic bathtubs is a relatively easy process that can be done with the right tools and materials. Here are the steps to repair scratches on a freestanding home acrylic bathtub:
Materials:
Fine-grit sandpaper (320-600 grit)
Polishing compound
Soft cloth or buffing pad
Acrylic repair kit (optional)
Steps:
Clean the surface of the bathtub with warm water and mild soap to remove any dirt or grime.
Use a fine-grit sandpaper (320-600 grit) to sand down the scratches. Be gentle and work in a circular motion, gradually working your way outwards from the center of the scratch. Wipe away any dust or debris with a soft cloth.
Apply a small amount of polishing compound to a soft cloth or buffing pad, and gently buff the surface of the bathtub in a circular motion. Continue until the scratches have disappeared or have been greatly reduced. Be sure to wipe away any excess polishing compound with a clean cloth.
If the scratches are deep or have not been completely removed, you can use an acrylic repair kit to fill in the scratches. Follow the manufacturer's instructions carefully and be sure to allow the repair to dry completely before using the bathtub.
Once the repair has dried, use the sandpaper and polishing compound again to smooth and polish the repaired area.
With these steps, you should be able to repair scratches on your freestanding home acrylic bathtub and restore its appearance.